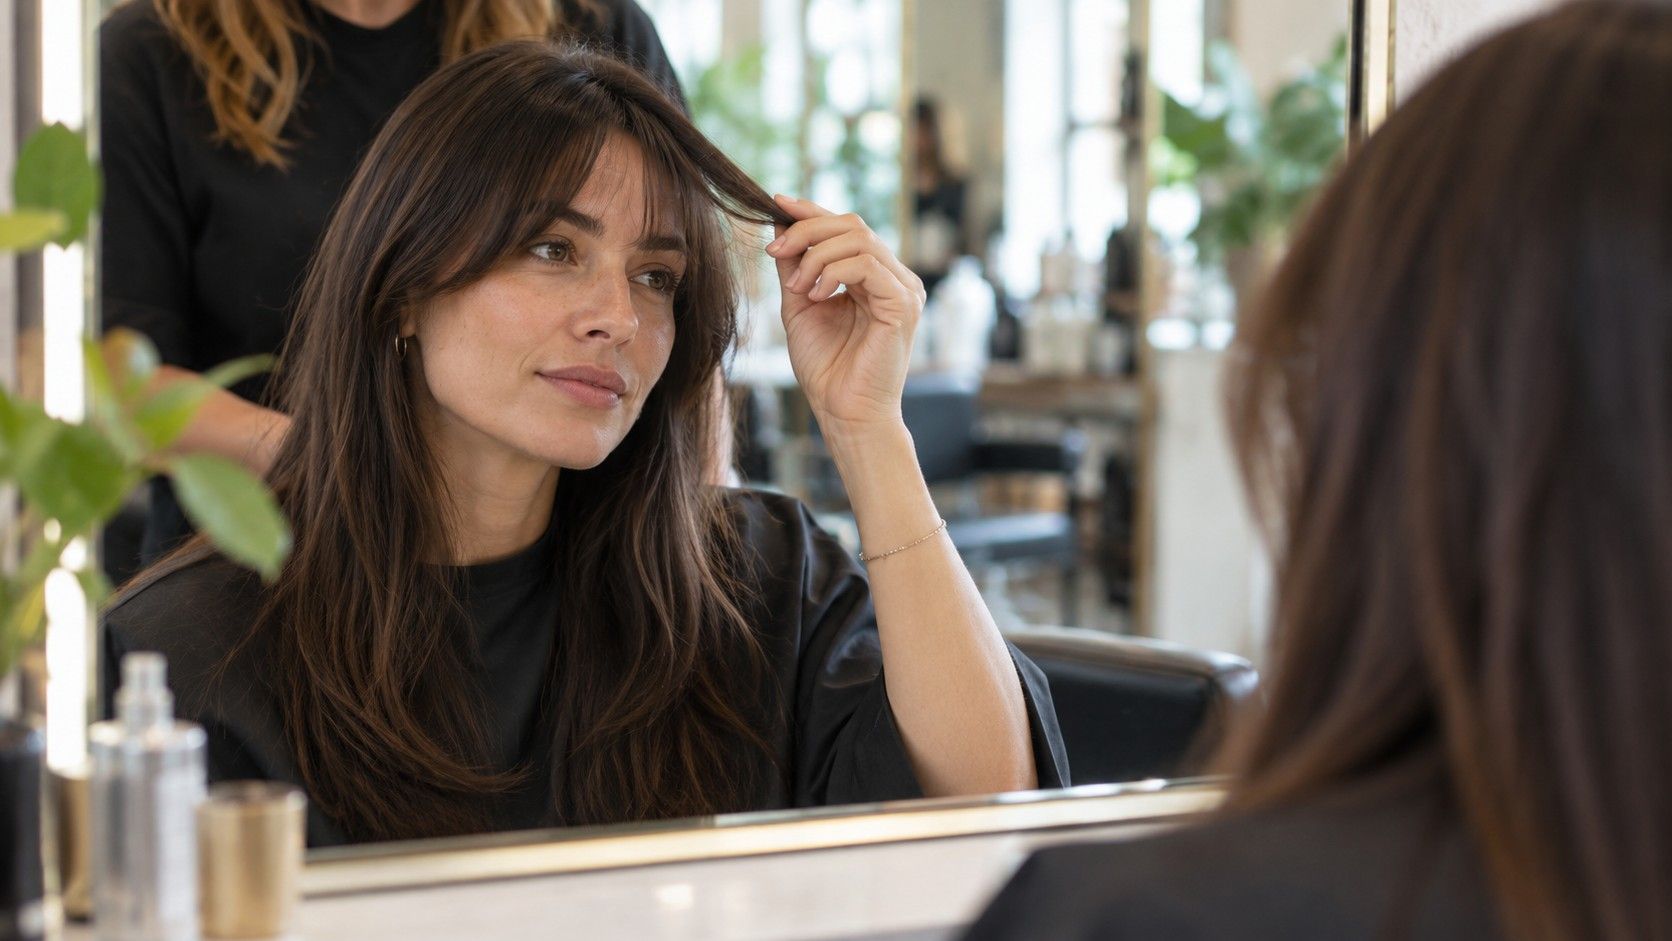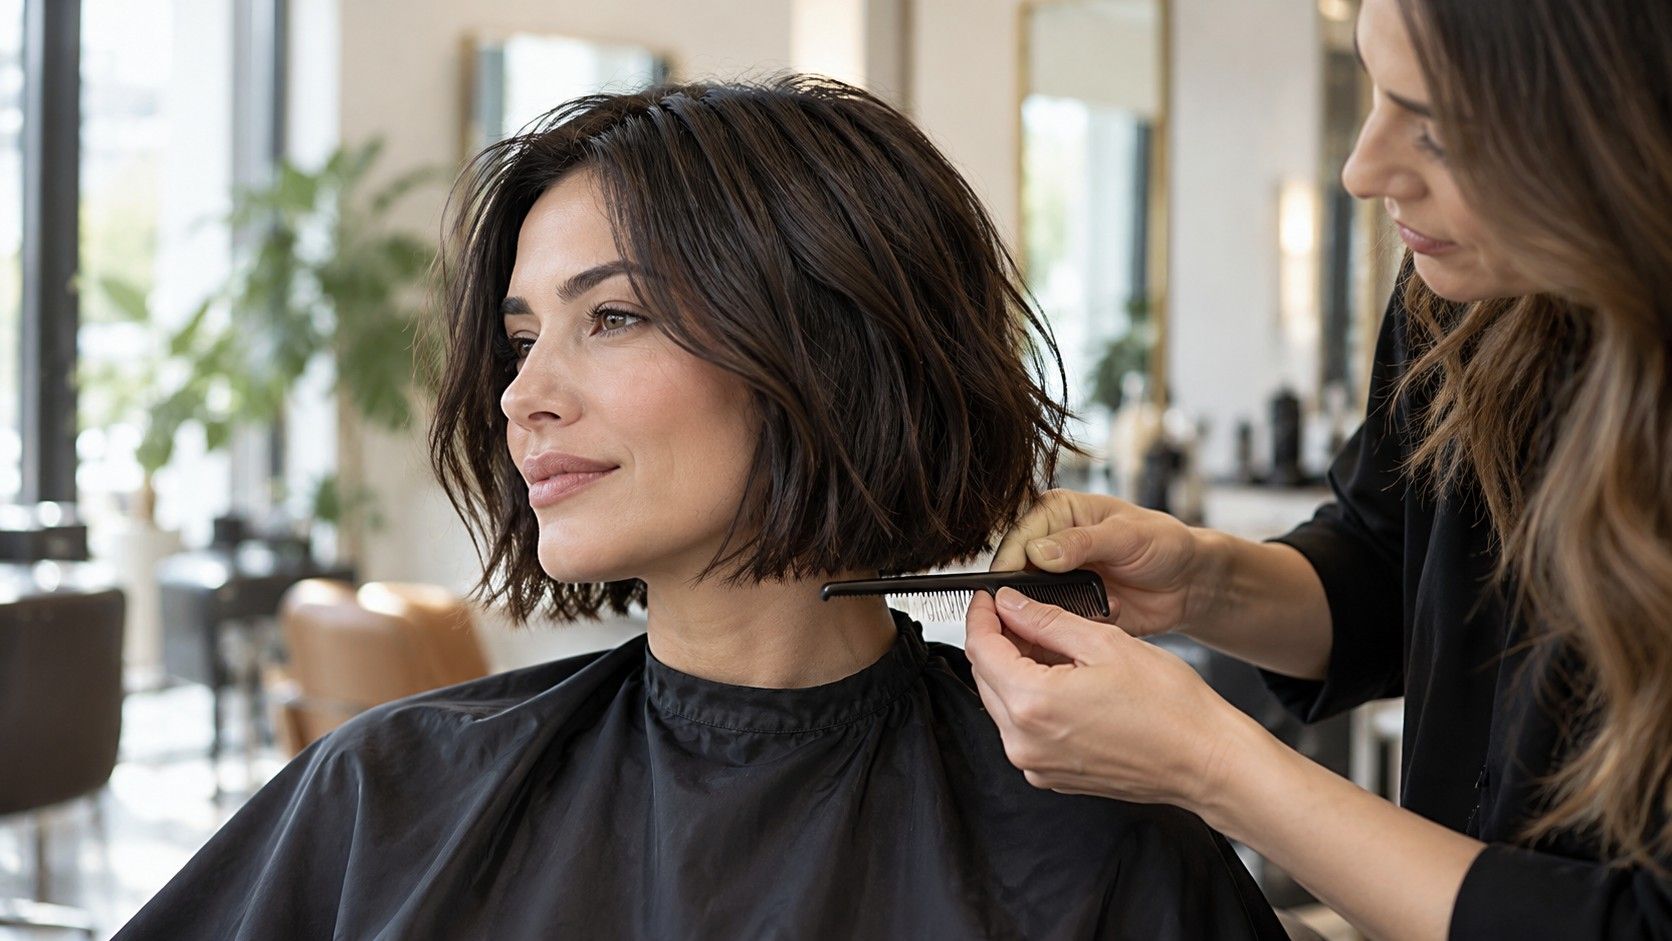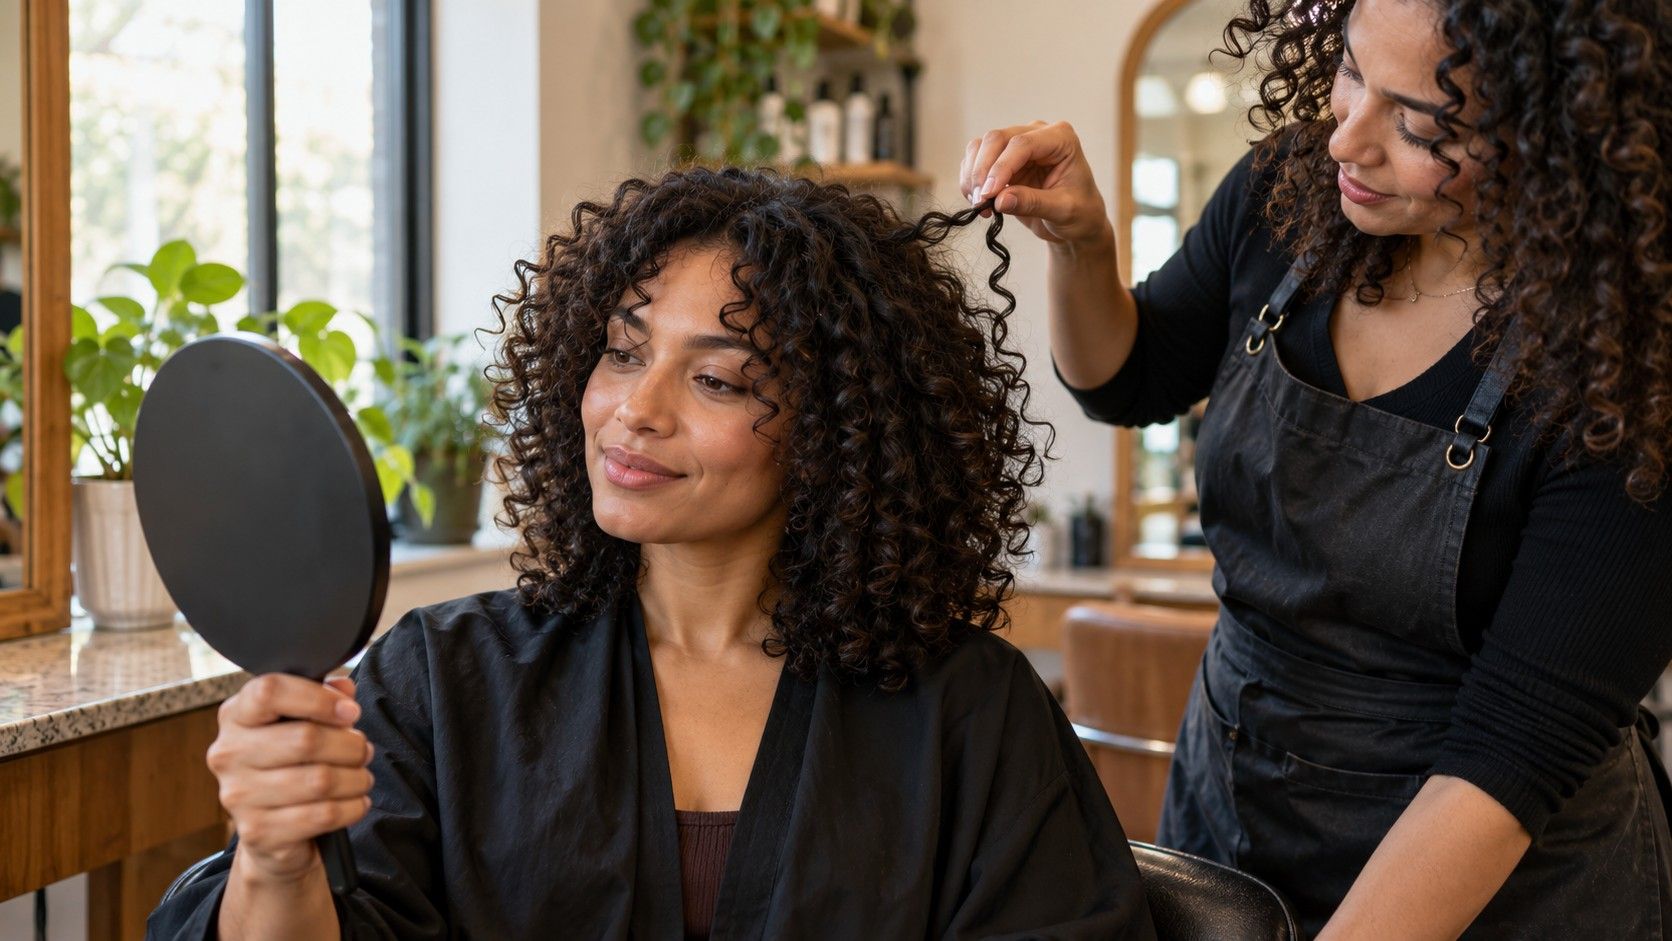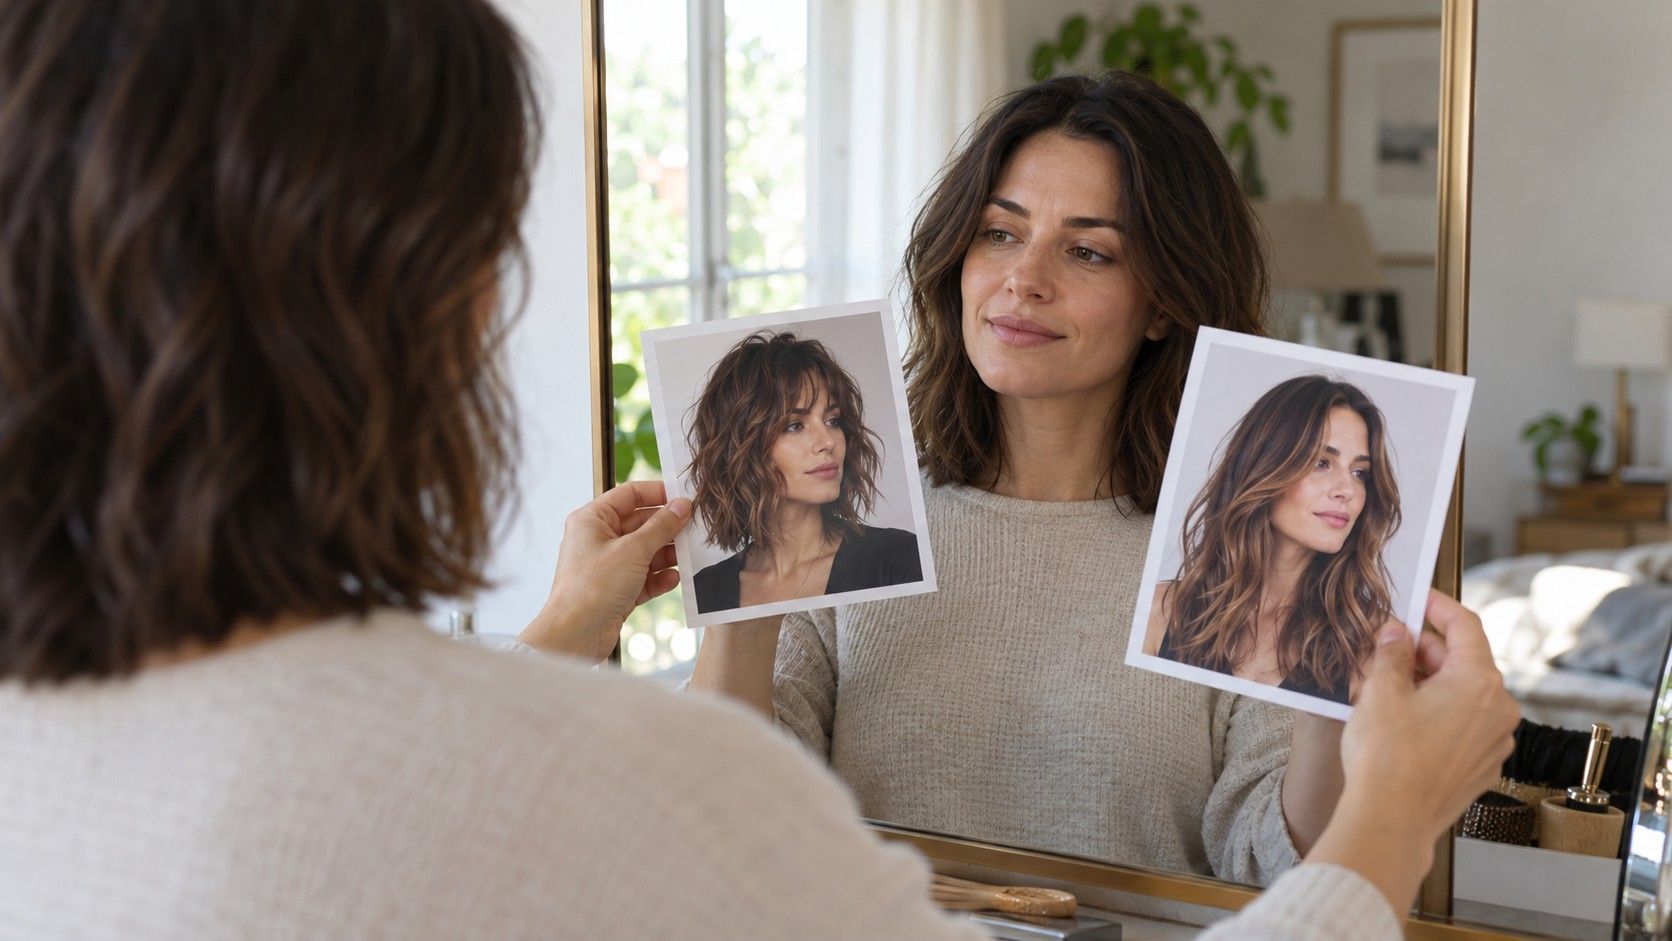
The quickest way to make a virtual try-on useful is to stop changing the source photo between styles. Stand facing a window with indirect daylight, put the camera around eye level and move hair away from the cheeks only if that is how you want to compare every option. A plain background helps the outline read. Keep your expression relaxed and your head straight; a tilted selfie can make one side appear shorter before the app has added anything.
Set up one photo you can reuse
Choose an image where your current length and hairline are visible. If you usually wear a part, leave it in place for the first comparison. Take a second image with hair pulled back only when you want to inspect the outline separately. Do not mix results from those two source photos in one ranking. Strong overhead light, a close wide-angle lens and a strand covering one eye all make it harder to compare styles consistently.
Use the same unfiltered image for each option in a try on hair styles for free tool. Keep a copy that the app has not edited. If the preview asks you to crop, include the same amount of shoulders and head each time. A stable base will not make the simulation exact, but it makes differences between the choices easier to notice.
Compare length before texture or finish
Begin with the largest decision: where the ends would fall. Try the current length, a modest change and a much shorter option, then compare the outline around your neck and shoulders. Do not start by judging shine or curl definition; those details can be rendered inconsistently and distract from whether you like the shape. A collarbone cut, for example, may feel like a smaller commitment than a jaw-length bob even when both previews have similar layers.
Check how much hair would need to disappear for the new length. If you wear a ponytail most days, ask yourself whether the simulated cut still looks practical for that routine. If the result sits on the shoulder, would it flip outward when it meets your actual texture? A preview cannot answer that, but it can help you decide whether the general length is worth discussing.
Next compare the outline: blunt, softly layered, rounded or longer toward the front. Look at both sides of the head rather than only the face crop. If an app shows a back view, treat it as another illustration, not a reliable image of your own density. The important question at this stage is plain: which length and perimeter would you like to explore with a stylist?
Try similar cuts side by side
Once a length feels promising, compare nearby shapes instead of jumping to unrelated styles. Put a one-length bob beside a lightly layered bob, or a long cut with face-framing pieces beside the same length without them. Changing one feature at a time makes it easier to see what you are responding to. When length, color, fringe and texture all change in one click, a favorite result tells you very little about the cut itself.
Fringe deserves a separate round because it changes the visual balance and the daily routine. Compare a curtain fringe with a longer face-framing layer, then think about how each would sit when air-dried. A fringe may need trimming more often than the rest of the haircut, and a preview cannot show how your cowlick lifts it. If you have never worn bangs, keep a version without them in the shortlist as a lower-commitment alternative.
Try a few options that reflect your real styling habits. If you rarely use a hot tool, a smooth, perfectly curved finish may be a poor basis for choosing a cut. Look for the silhouette under a more ordinary finish if available, or ask the stylist how the shape behaves without a blowout. Hair texture, density and growth pattern can change the result substantially, even when two reference photos look similar.
Notice when the rendering is misleading
An overlay may sit too close to the forehead, erase part of an ear or continue through a shoulder. These are signs of a rough fit, not evidence that your real hairline or head shape is unusual. A generated fringe can have a clean edge that no individual strands would make. Watch for doubled hair at the temples, gaps near the neck and layers that seem to float above the head.
Lighting is another source of false confidence. A preview may brighten the face, soften skin or deepen the eyebrows while changing the hair. If the whole portrait looks more polished, you may be reacting to the edit rather than the cut. Compare with your original image and, if possible, disable automatic retouching. Do not let a smooth digital finish stand in for a conversation about how your own hair behaves.
Be cautious with texture. Straight hair pasted onto a curly photo, or broad curls added to fine hair, can make a style appear to have more volume than it would in practice. An app does not measure strand diameter, density, shrinkage or the way your curls gather after drying. Use a preview to ask for shape ideas, then look for real examples with a similar texture and density before deciding.
Keep a shortlist that a stylist can use
After comparing, keep two or three images: your current appearance, the option you prefer and a sensible alternative. Add a short note to each one explaining what you like—length at the collarbone, movement around the cheeks, or a fringe that can be swept aside. Also mention what you do not want, such as losing the ability to tie it back. Specific notes travel better than an app’s style name.
| Comparison | What to look at | Useful salon question |
|---|---|---|
| Current length vs shorter | Where the ends sit at the neck and shoulders | How much length would need to come off? |
| Blunt vs layered outline | Weight, movement and the shape from the side | How would this work with my density? |
| Fringe vs face framing | Hairline, parting and upkeep between cuts | Could I wear it away from my face? |
| Styled vs ordinary finish | How much effort the reference seems to require | What would this look like air-dried? |
Take the images alongside a current photo in natural light. Tell the stylist which details are simulations and invite them to adapt the shape to your hair texture, growth pattern and routine. A digital preview cannot predict the exact salon result: it cannot account for the way a cowlick directs the fringe or how curls spring up after cutting. That limitation does not make the comparison pointless. It gives you a visual starting point and a clearer set of questions.
If the app’s free version lets you save a clean image, keep only the useful references and label them clearly. A screenshot with several options side by side can be convenient, but do not rely on tiny thumbnails that hide the outline. If saving requires an account or payment, check the app’s current terms before uploading or exporting personal photos. Features and limits vary, so verify them in the app rather than assuming every free tool works the same way.
Finally, step away from the screen for a little while. On returning, see whether the same option still appeals when you compare it with your ordinary mirror view and actual styling habits. If the best result depends on a filter, a dramatic blowout or a texture unlike yours, keep the idea but revise the request. The most useful outcome is not a verdict from an app; it is a more precise conversation about a cut you can live with.