A fringe can change the feel of a haircut more than a small trim, yet a preview is only a sketch placed over one particular photo. I use it to compare shapes and put words to a preference, then check the parts an image cannot settle: where the hair naturally parts, how it behaves after washing, and how much morning styling feels reasonable. That makes the salon conversation more useful without treating a screen as a forecast.
Compare the outline before choosing a fringe name
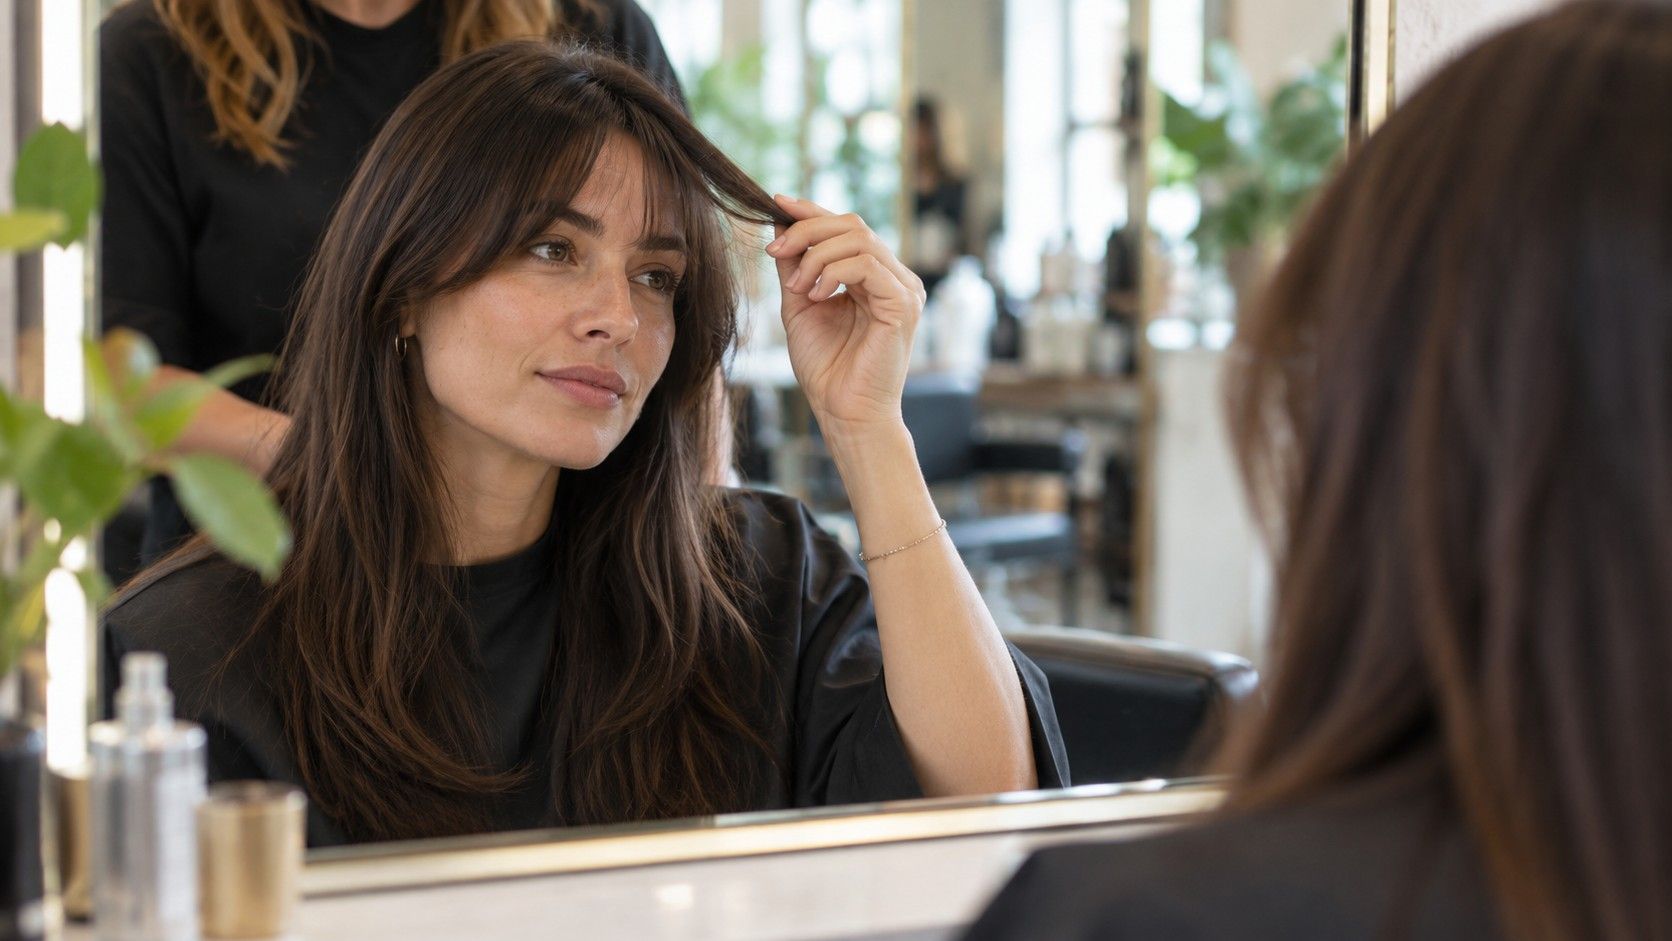
“Bangs” covers several different outlines. Curtain bangs usually part near the middle and angle outward; a blunt fringe creates a more continuous line across the forehead; a side-swept shape travels diagonally and can blend into longer layers. Those labels help, but salon photos and app previews use them inconsistently. Look at where the shortest pieces sit and how the sides connect to the rest of the haircut.
Try a few genuinely different silhouettes on the same portrait. Start with a longer, open shape, then compare it with a fuller line that sits closer to the brows. A third option might be a side-swept fringe that keeps more forehead visible. The point is not to vote on which image looks most polished. Notice which version still seems appealing when you imagine it with your usual clothes, expression and hair rather than a studio pose.
Length changes the practical question. Pieces that reach the cheekbones may tuck behind an ear and grow out more quietly; a shorter fringe can feel lighter but may need more frequent shaping. A preview rarely shows the awkward middle stages of growth. If you want flexibility, save one image with the fringe styled forward and ask the stylist how it could be worn while it grows.
| Shape to compare | What to inspect | Question for the stylist |
|---|---|---|
| Curtain | Parting and cheekbone connection | Can the center be left long enough to sweep aside? |
| Blunt | Width, density and brow-level line | How will this sit with my natural growth pattern? |
| Side-swept | Direction and blend into layers | Can it work with my usual part? |
These are comparison points, not rules about which face or hair type is allowed to wear a particular cut. A stylist can adjust width, weight and length to your hairline and preference. If you like one image but not the way its edges stop, point that out; the distinction is often more helpful than trying to find a perfect reference.
Use a photo that shows your real part and hairline
A virtual preview can only respond to the photograph you give it. For a first comparison, take a straight-on image in soft daylight, with the camera near eye level and enough space above the forehead to see the hairline. Keep your head relaxed rather than tilting toward the phone. Pull hair away from the face only if you also plan to compare that view; otherwise use the part and framing you wear on an ordinary day.
Make the baseline photo simple. Strong overhead light can cast a hard shadow across the forehead, while a close wide-angle selfie may enlarge the center of the face relative to the edges. Neither tells you much about fringe shape. A neutral background and an unfiltered image make it easier to see where the overlay begins and ends. If the tool shifts your hairline or smooths other details, treat its outline as rough inspiration.
Use the same image for every option. Changing the camera height, expression or head turn between versions makes the comparison less clear. I would rather see three imperfect overlays on one consistent photo than a gallery of polished but incomparable selfies. If your usual part is off-center, keep it visible. A second photo with hair brushed back can be useful as a separate check of the hairline, not as a replacement for the first view.
Some previews place a fringe exactly where the software expects hair to be, even when your own hair does not fall that way. Zoom in on the temples and center part. Look for gaps, a pasted-on edge, or hair that seems to cover an area you normally keep open. These glitches do not mean the haircut is impossible; they mean the image cannot demonstrate how your strands will move.
Check cowlicks and growth before trusting the center line
The hair at the front may grow in a direction that a still portrait does not reveal. A cowlick near the hairline can push a short piece upward or sideways, and a strong natural part may repeatedly reopen a center fringe. Some people have a subtle growth pattern that is easy to manage once the hair is long enough to carry weight; others find that the first few centimeters need patient styling. There is no universal result from the word cowlick alone.
Before the appointment, notice what happens when your hair dries without being directed. Does the front split in the same place each morning? Does one temple lift? Does a fringe you have tried before settle after a few minutes, or keep springing back? Bring that observation to the consultation. It gives the stylist a better starting point than asking the preview to decide whether your growth pattern is workable.
Hair texture matters in a similar, specific way. A wavy front section may form a bend that shortens the apparent length; a curl can spring upward when dry; fine hair may separate into narrow pieces if the fringe is cut too lightly or too densely for the desired look. These are possibilities to discuss, not reasons to rule yourself out. The stylist can assess your own density, curl pattern and routine in person, including whether to cut wet, dry or in stages.
If you wear your hair naturally, use a reference that shows a finish close to your normal one. A smooth, ironed preview does not answer how the fringe will sit with air-dried texture. If you regularly blow-dry the front, say so, along with the time you are willing to spend. A fringe designed around a daily brush and dryer can feel like the wrong cut if your real routine is wash, air-dry and go.
Estimate the everyday styling time, not the salon finish
Freshly styled hair has a way of hiding the ordinary work. Ask yourself what the preview implies: does the fringe look separated and soft, rounded under, sharply straight, or swept neatly to each side? Those finishes may call for different tools and habits. A picture cannot tell you whether a shape will fall into place after sleep or need to be reset each morning.
Think through a normal weekday. Would you spend a few minutes directing the front while it dries? Are you comfortable carrying a small brush, or do you need the fringe to survive a commute, exercise and damp weather without attention? A stylist can show a low-effort way to wear the proposed shape and be candid about the days when it may need more work. It is reasonable to choose a longer fringe because it can be tucked back, even if a shorter one looks striking in an overlay.
Maintenance is separate from daily styling. Hair grows at different rates, and the point at which a fringe stops feeling comfortable depends on its length and the wearer. Ask how soon the shape may need a tidy-up and whether the salon offers a fringe trim. You do not need to commit to a schedule before hearing the stylist's estimate; use it to decide whether the upkeep fits your calendar and budget.
Keep the first cut conservative if the uncertain part is length. Hair can be shortened further, while waiting for a too-short fringe to grow takes time. A stylist may suggest beginning longer, checking how the pieces move, and refining them once the shape is visible. That staged approach can be especially reassuring if you have never had bangs or are making a major change from long hair.
Bring a small reference set and leave room to adjust
Save the preview that communicates the outline you like, but pair it with a photograph of your current hair and one or two real references with a texture closer to yours. Tell the stylist what you want to borrow from each image: perhaps the open center of one fringe and the longer side pieces of another. Explain what you do not want as clearly as what you do—too short at the center, a heavy straight line, or pieces that cannot be tucked away.
Show the images before the cutting begins and ask the stylist to describe the likely shape on your hair. Useful questions are concrete: Where would the shortest point land? How will my part affect the direction? What happens if I let it air-dry? How much styling does this outline usually take? A professional can then adapt the reference to your hairline and texture instead of tracing a digital edge.
A preview is most useful when it narrows the conversation. If three versions make you realize that you prefer a soft frame around the eyes but do not want a solid brow-length line, you have learned something practical. Keep the original photo untouched, label the overlay as a simulation, and bring two options if you remain undecided. The final cut should be chosen with the person who can see and handle your actual hair, not by asking a screen to promise an exact result.