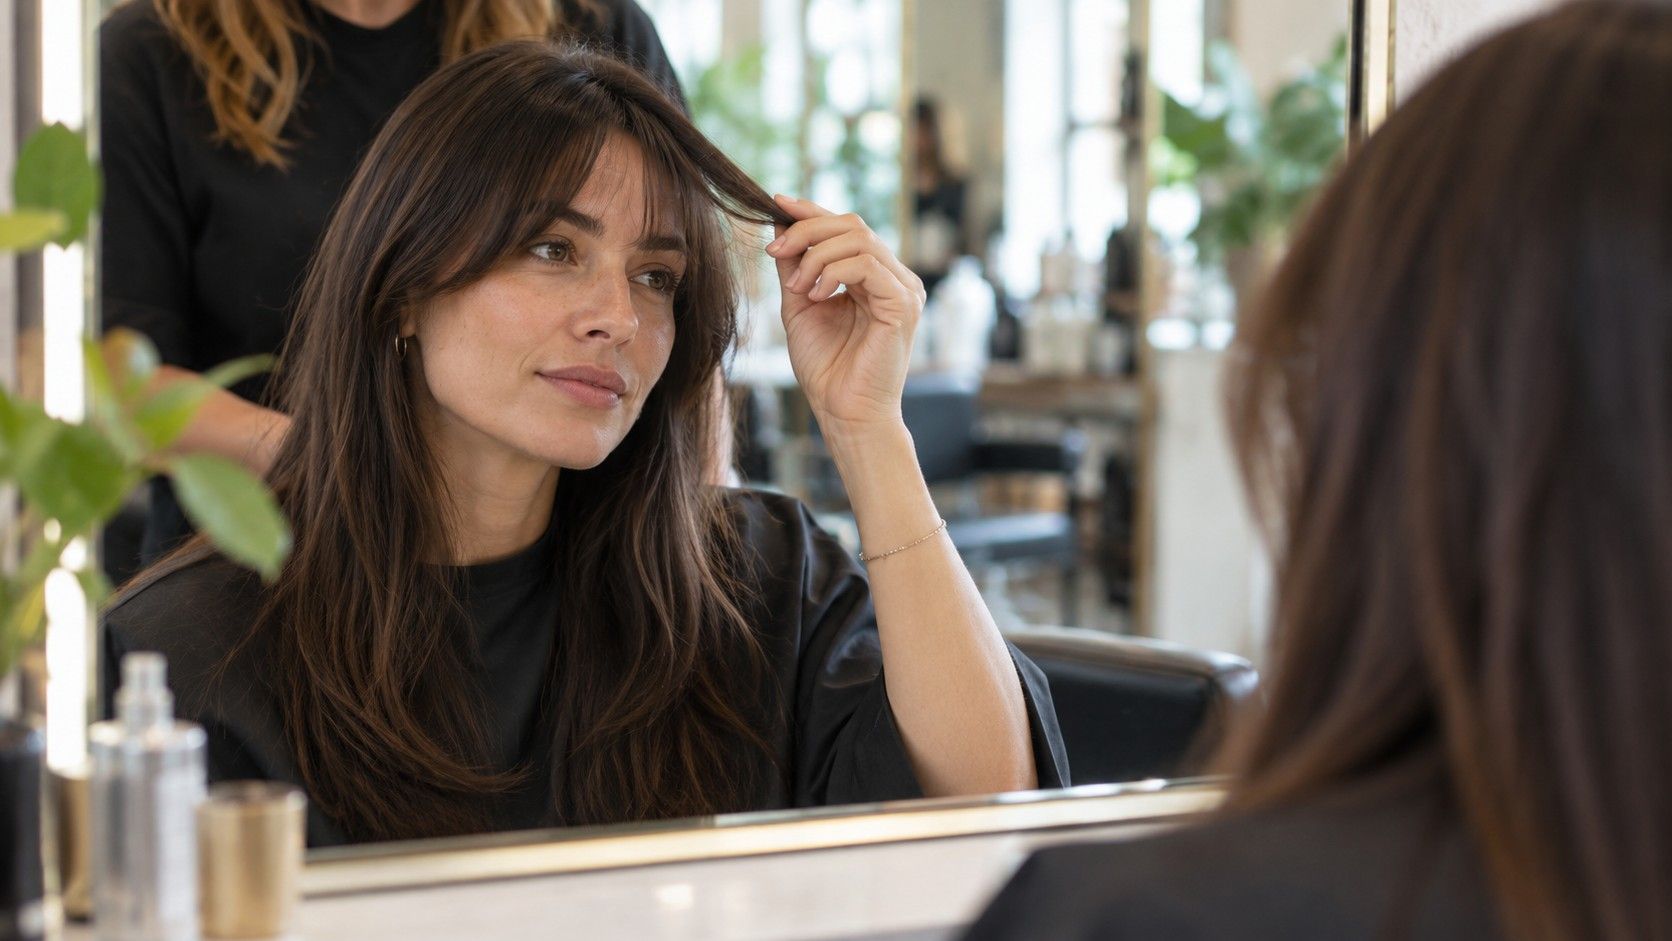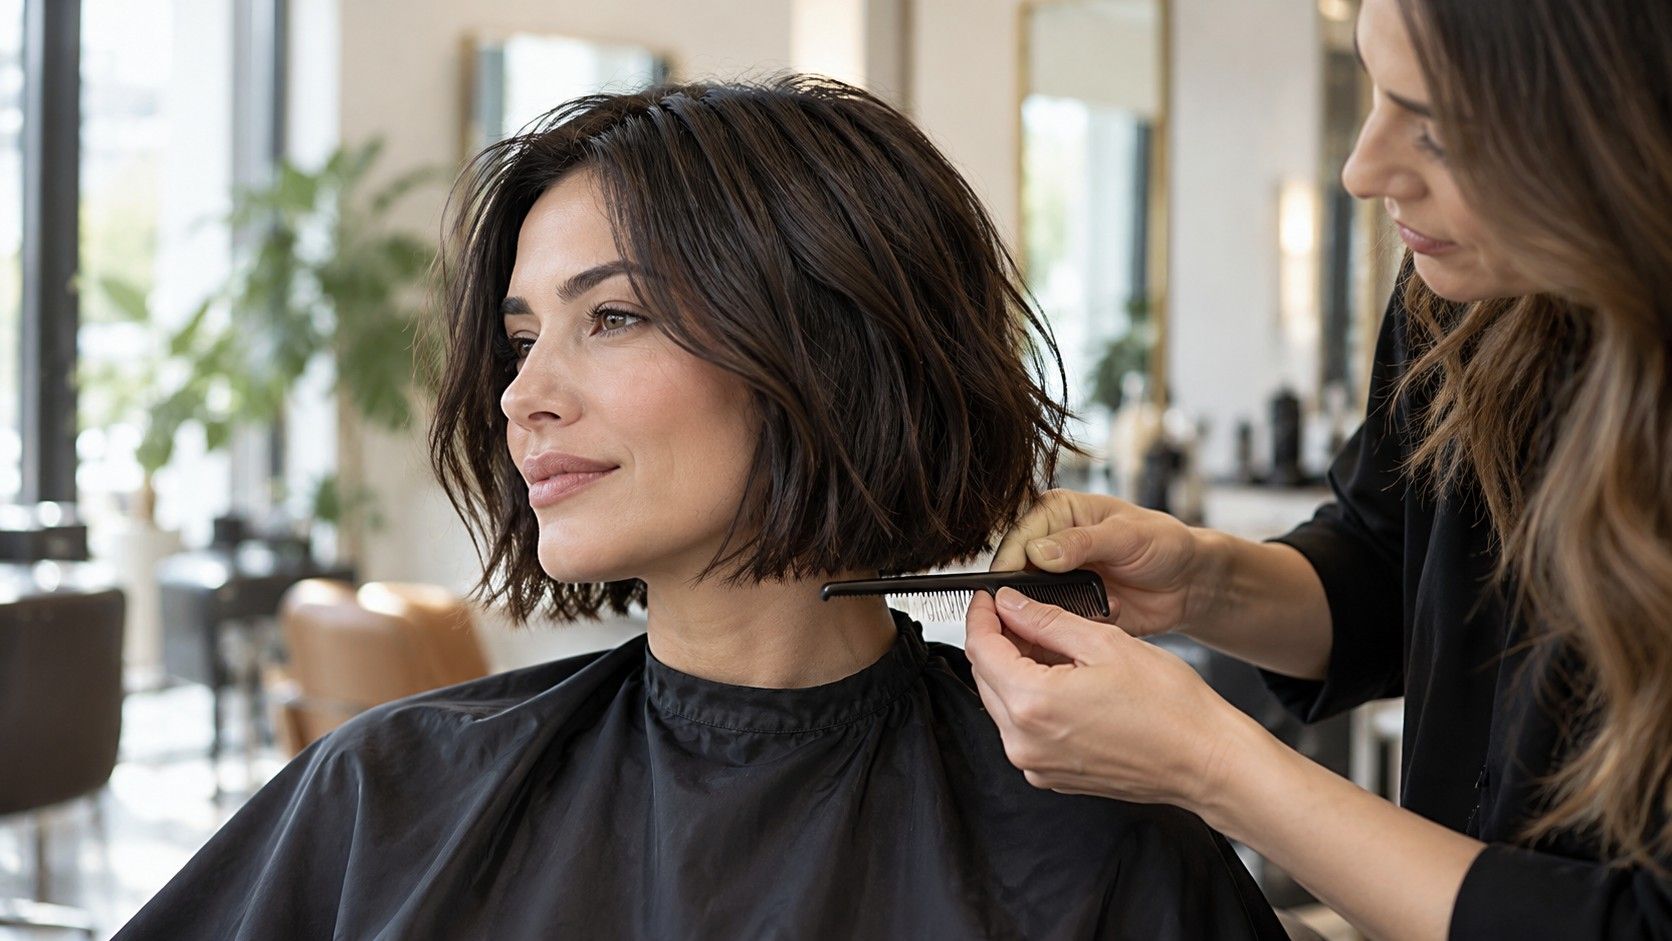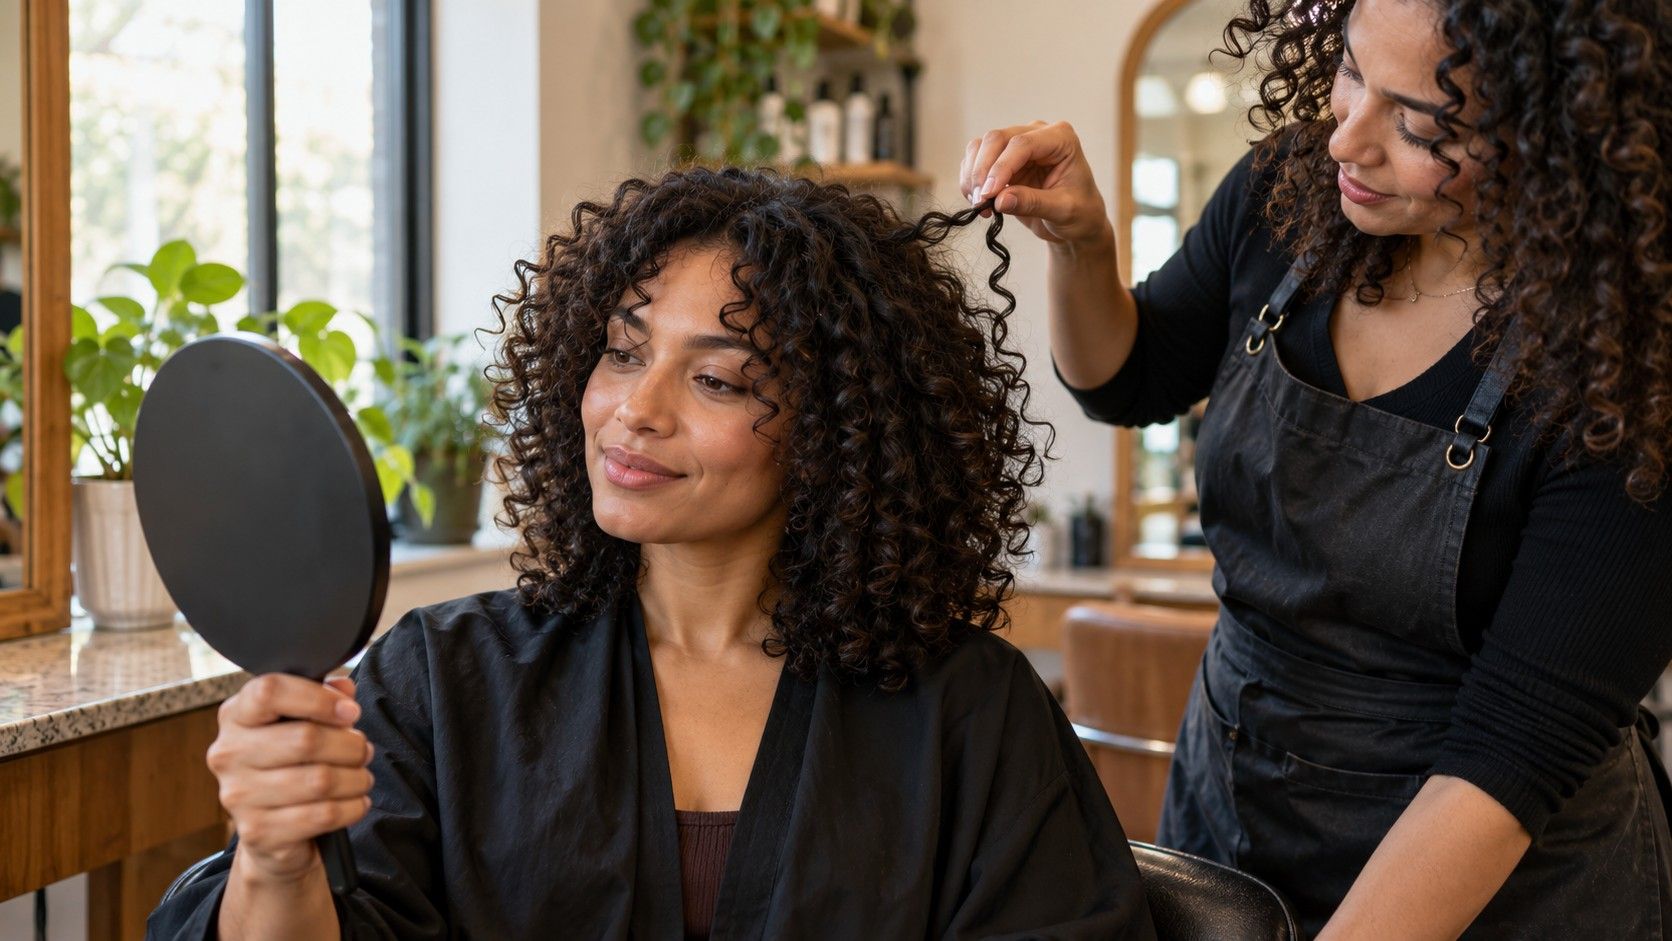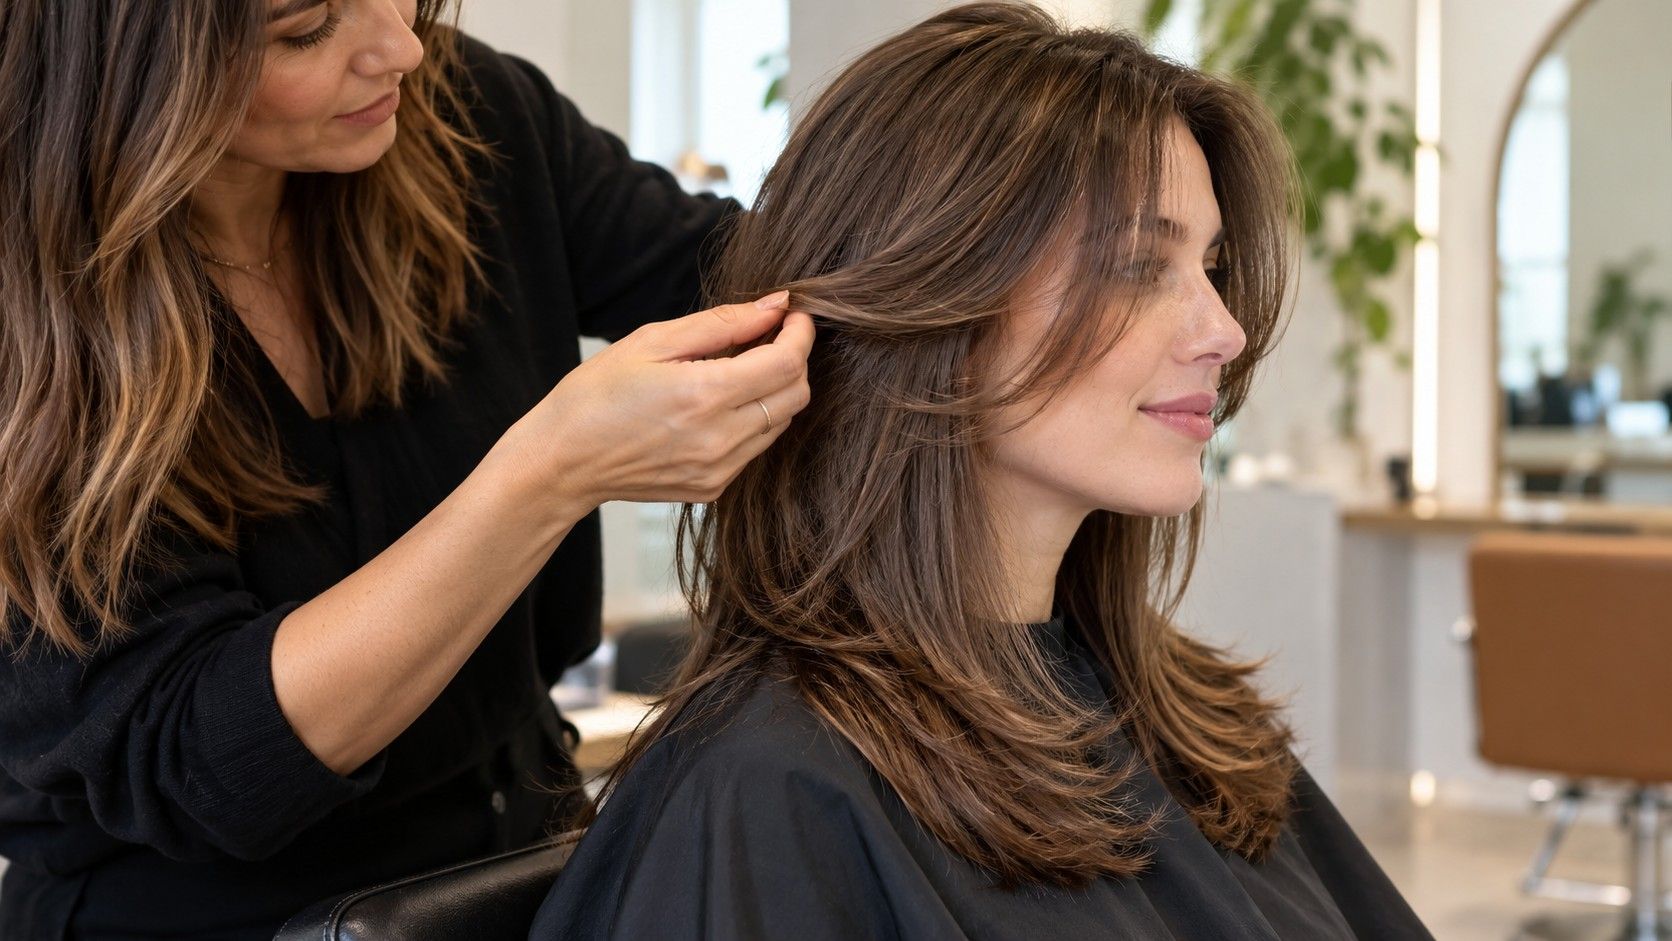
A layered haircut can look like a dramatic change in a preview even when the overall length barely moves. The eye follows the shorter pieces around the face, then reads the lifted ends as extra volume. Before you save a reference or book a trim, look past the first impression: check where the layers start, how much length remains at the perimeter, and whether the shape makes sense with your own texture and routine. A virtual preview is useful for comparing directions, but it cannot show exactly how scissors, gravity, cowlicks, or your styling habits will shape the finished cut.
Where do the shortest layers begin?
Start by finding the first visible layer, not by deciding whether the whole haircut looks “soft” or “choppy.” In one preview, the shortest pieces may sit near the cheekbones; in another, they may begin around the jaw or below the chin. That difference changes how much hair frames the face and how often you may need to style those pieces away from your eyes.
Use a clear reference photo and inspect the front from hairline to ends. If the overlay hides the transition, compare it with another image or move the part slightly. A face-framing layer that begins at the cheek can make a stronger visual statement than a long layer that starts near the collarbone, even when the back length looks similar. Ask yourself whether you would tuck those shorter pieces behind an ear, pin them back, or wear them forward on an ordinary day.
Then translate the preview into a salon instruction. “Layers around my face” leaves room for very different interpretations. Try a description such as “keep the shortest front pieces below my jaw” or “I want a gradual frame that still tucks behind my ears.” These are reference points, not measurements a stylist must copy blindly. Your stylist can check the hair dry and wet, see how it falls, and adjust the plan to your growth pattern.
Does the preview preserve the length you want?
Layering and shortening are related in the picture, but they are separate choices in the haircut. Long layers remove weight from sections inside the shape while leaving the bottom edge relatively full. A shorter perimeter changes the visible overall length. Some previews blur that distinction: the ends appear lighter and higher, so the cut can seem shorter than it is; other images place the layers over the shoulders in a way that makes the perimeter hard to judge.
Compare the longest ends with a fixed landmark in your own photo: collarbone, shoulder, or the top of your chest. Take the same view with hair resting naturally, then note the point you want the longest layer to reach. If the simulation uses a different camera distance or your head is tilted, treat the comparison as approximate. A front-facing image is helpful for seeing the frame, while a side view helps reveal whether the back still reaches the length you care about.
There is also a practical question about how much hair you are willing to lose to even out the ends. If your current perimeter is uneven or damaged, a stylist may suggest trimming it before adding layers. That can make the final outline look shorter than the preview, even if the reference itself has long layers. Say which matters more to you: keeping the longest length, removing wispy ends, or creating visible movement. Naming the priority gives the consultation a useful starting point.
What do the front, side, and back tell you?
A single straight-on image can sell the face frame and conceal the rest. Check a layered style from more than one angle if the preview offers that view, or bring separate references for the front and back. From the front, look at the shortest sections and whether they connect smoothly to the rest. From the side, notice where the layers sit against your cheek, neck, and shoulder. At the back, look for the outline: does it stay fairly blunt, taper into a soft V, or form a rounded U?
These outline differences affect the impression of fullness. A tapered back may show more separation at the ends; a fuller perimeter can read as denser. Neither is automatically better. If you wear your hair in a ponytail, consider whether you are comfortable with shorter pieces falling out around the temples and nape. If you often wear it down, decide whether you prefer a strong, even edge or a more textured finish. Small layers can change how the ends sit even when the overall shape remains familiar.
Look for gaps in the preview rather than filling them with assumptions. A two-dimensional mock-up may not show how the crown blends into the sides, whether the back is cut in balanced sections, or what the style looks like when you turn your head. Save a front view and a side or back reference when possible. In the salon, ask the stylist to describe how the sections connect and to show the proposed perimeter before taking off substantial length. A quick check in the mirror helps confirm that you are discussing the same shape.
How might your texture and density change the result?
Hair texture affects how layers sit after the appointment. Straight hair can make the steps between lengths easier to see, especially if the cut is styled smooth. A natural wave can lift shorter sections and create more separation than a flat preview suggests. Curls may spring upward when dry, so a layer that appears long while wet can sit higher once it returns to its usual pattern. These are reasons to discuss the cut in your normal texture rather than to treat a simulation as a prediction.
Density matters too. Removing internal weight can help a heavy shape move, but too much removal may leave fine or low-density ends looking sparse. On dense hair, well-placed layers can reduce bulk, though the result depends on where the bulk sits and how the hair is cut. A preview cannot reliably tell how many sections a stylist should remove. Use it to communicate the silhouette you like, then explain whether your main concern is heaviness, flatness, a wide shape, or ends that feel thin.
Bring details about your growth pattern. A crown cowlick, a strong part, or hair that flips near the nape can change where short layers settle. If you usually air-dry, say so; a style that depends on round-brush shaping may ask more of you than the preview reveals. Tell the stylist how often you use heat tools and whether you are willing to learn a new technique. The useful question is not “Will my hair look exactly like this?” but “What version of this shape works when I style my hair the way I normally do?”
If your texture changes between wash day and later days, bring a photo that shows the usual pattern, not just the most polished result. For curls, a dry consultation can help both of you see the spring and volume at the point where the hair naturally rests. For waves, show how the front pieces behave when left alone. That context helps the stylist separate the shape you want from a finish that would require daily effort.
Will the styling and upkeep fit your week?
Layers can create movement, but the preview usually shows one arranged moment. Consider how the cut might look when you wake up, tie it back, or let it dry without a brush. Shorter face-framing pieces may need a little direction to sit neatly; heavily layered ends may show their shape more clearly when styled. Ask what the cut will look like with your usual part and whether a simple air-dry routine can keep the outline you prefer.
Think about tying your hair up before committing. Short layers near the face may escape a ponytail, while short pieces around the crown can resist a smooth bun. If that would bother you at work, during exercise, or on busy mornings, point to the shortest pieces in the preview and ask how they will behave when secured. You could choose a longer starting point for the frame or keep the crown layers subtle. This is a trade-off to discuss, not a rule against layers.
Maintenance depends on how quickly your hair grows, how sharply defined the layers are, and how much shape you want to preserve. A layered cut does not have one universal appointment interval. Ask your stylist what will change as the shortest pieces grow and which parts of the shape are likely to need attention first. If you prefer fewer salon visits, say that before the cut; the stylist can suggest a softer transition and explain what will become less defined over time.
Use the preview to compare two or three realistic options, not to chase a perfect image. You might save one reference with longer face-framing pieces and another with a more noticeable layer, then write down what you like in each. “I like the movement here, but want to keep the bottom edge full” is clearer than asking for a copy of a photo. The aim is a shared plan that can adapt to your hair, not a promise that the screen can make.
How can you explain the perimeter you want?
The perimeter is the visible outline at the longest ends. In a layered haircut, it can remain solid, soften gradually, or narrow toward the center back. Previews often emphasize face-framing movement and give less attention to this edge, so decide what you want the bottom to do. If you like the look of thick ends, say that the outline should stay full. If you prefer a lighter, more piecey finish, point to the reference and ask how much texture would be removed.
It helps to separate three requests: the longest length, the shortest layer, and the outline. You might say, “Keep the longest point near my collarbone, start the front frame below my jaw, and leave the back edge mostly blunt.” That sentence gives the stylist more to work with than “long layers.” It still leaves room for professional judgment about your hair’s fall and density.
Before the first cut, confirm the plan in plain language. Ask the stylist to show where the shortest section will land and how much will come off the longest ends. If you are uncertain, request a conservative first change; more can be removed later, while cut length takes time to grow back. Once the shape is set, you can ask for more movement or a softer edge if the first pass feels too heavy. There is no need to decide every detail from a phone screen.
A layered haircut preview is most useful when it narrows your choices and gives you vocabulary for the appointment. Keep a few angles, note your routine, and identify the details you want preserved. Then let the consultation account for texture, growth, and the way your hair actually falls. The picture is a conversation aid; the final cut is a decision made with the hair in front of you.