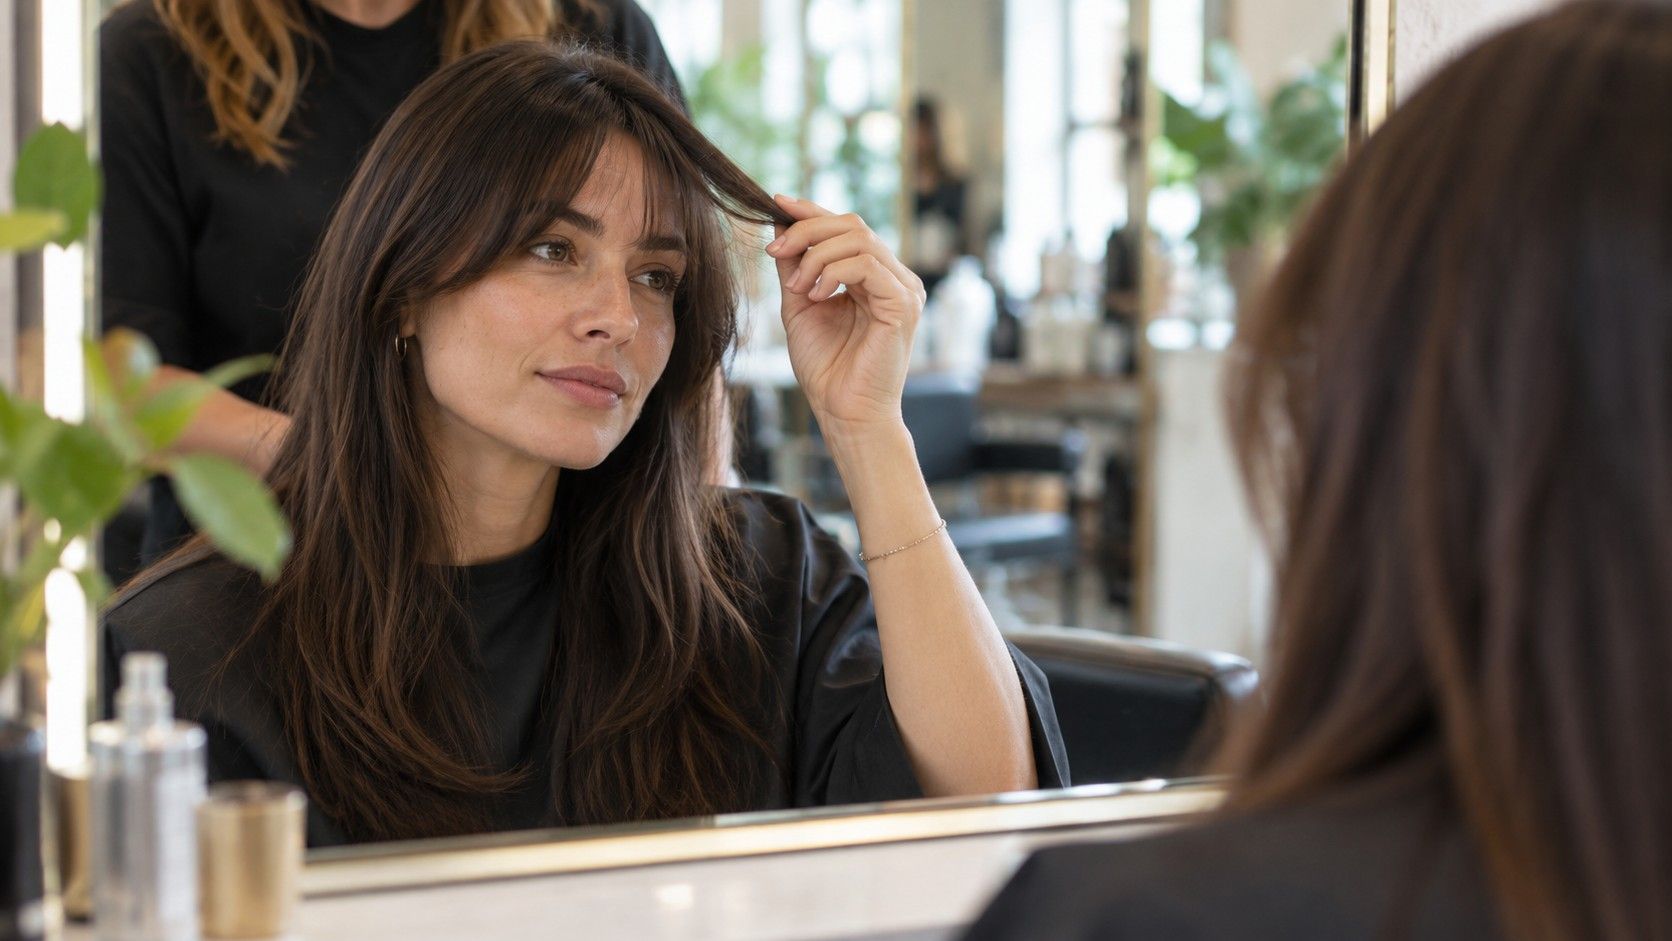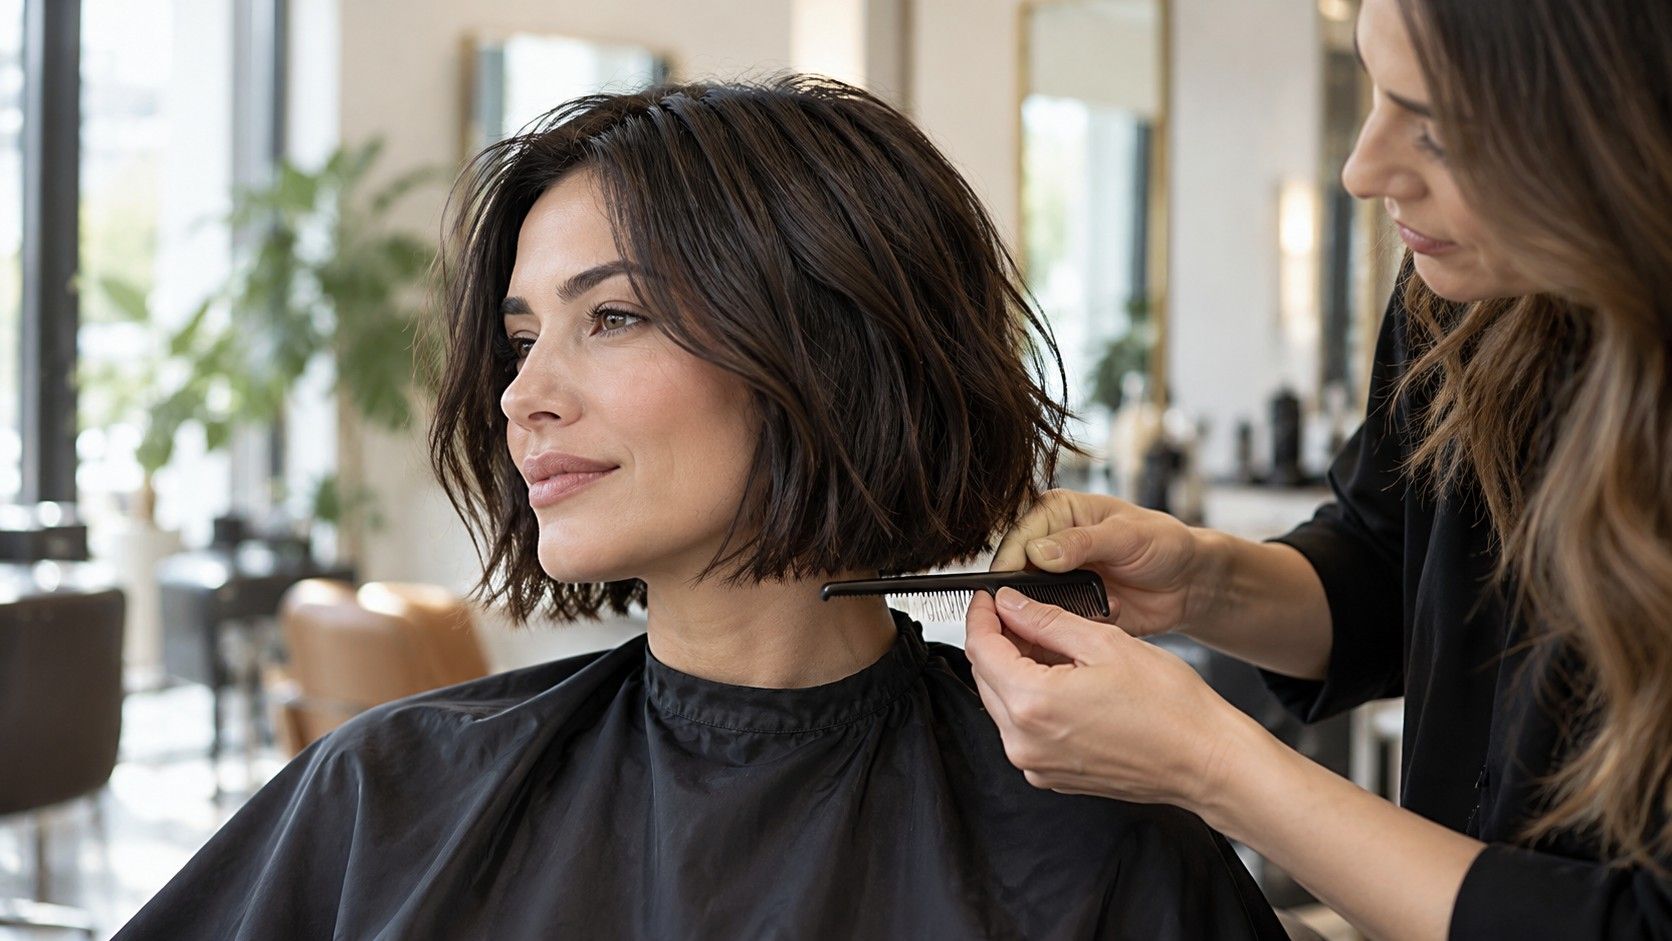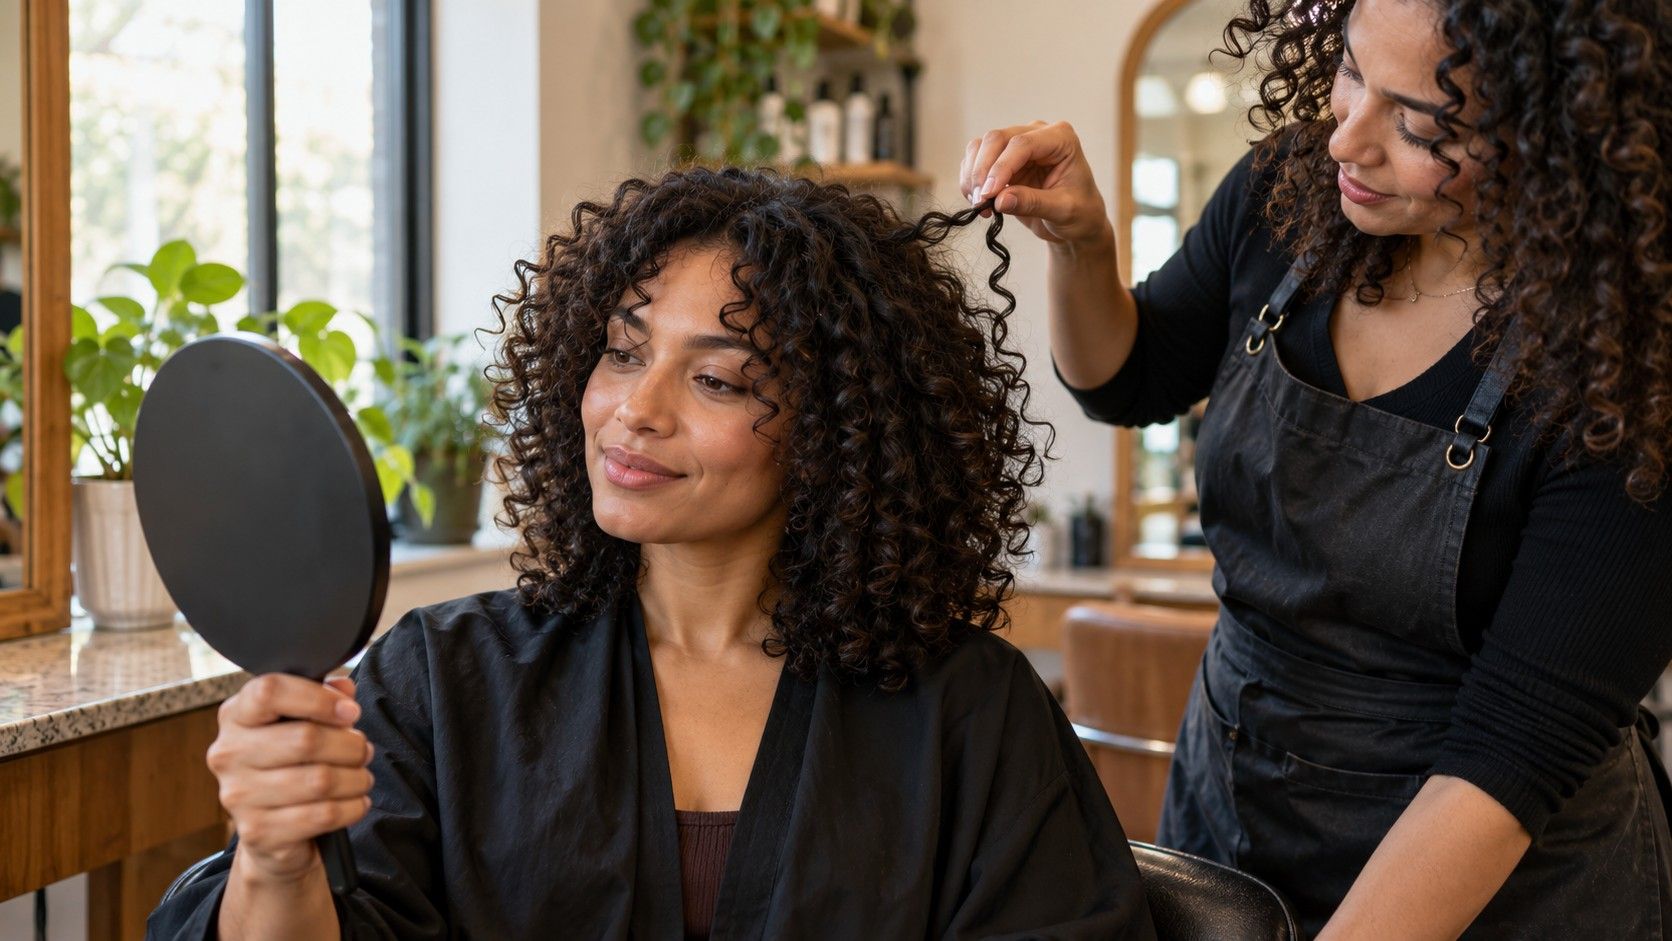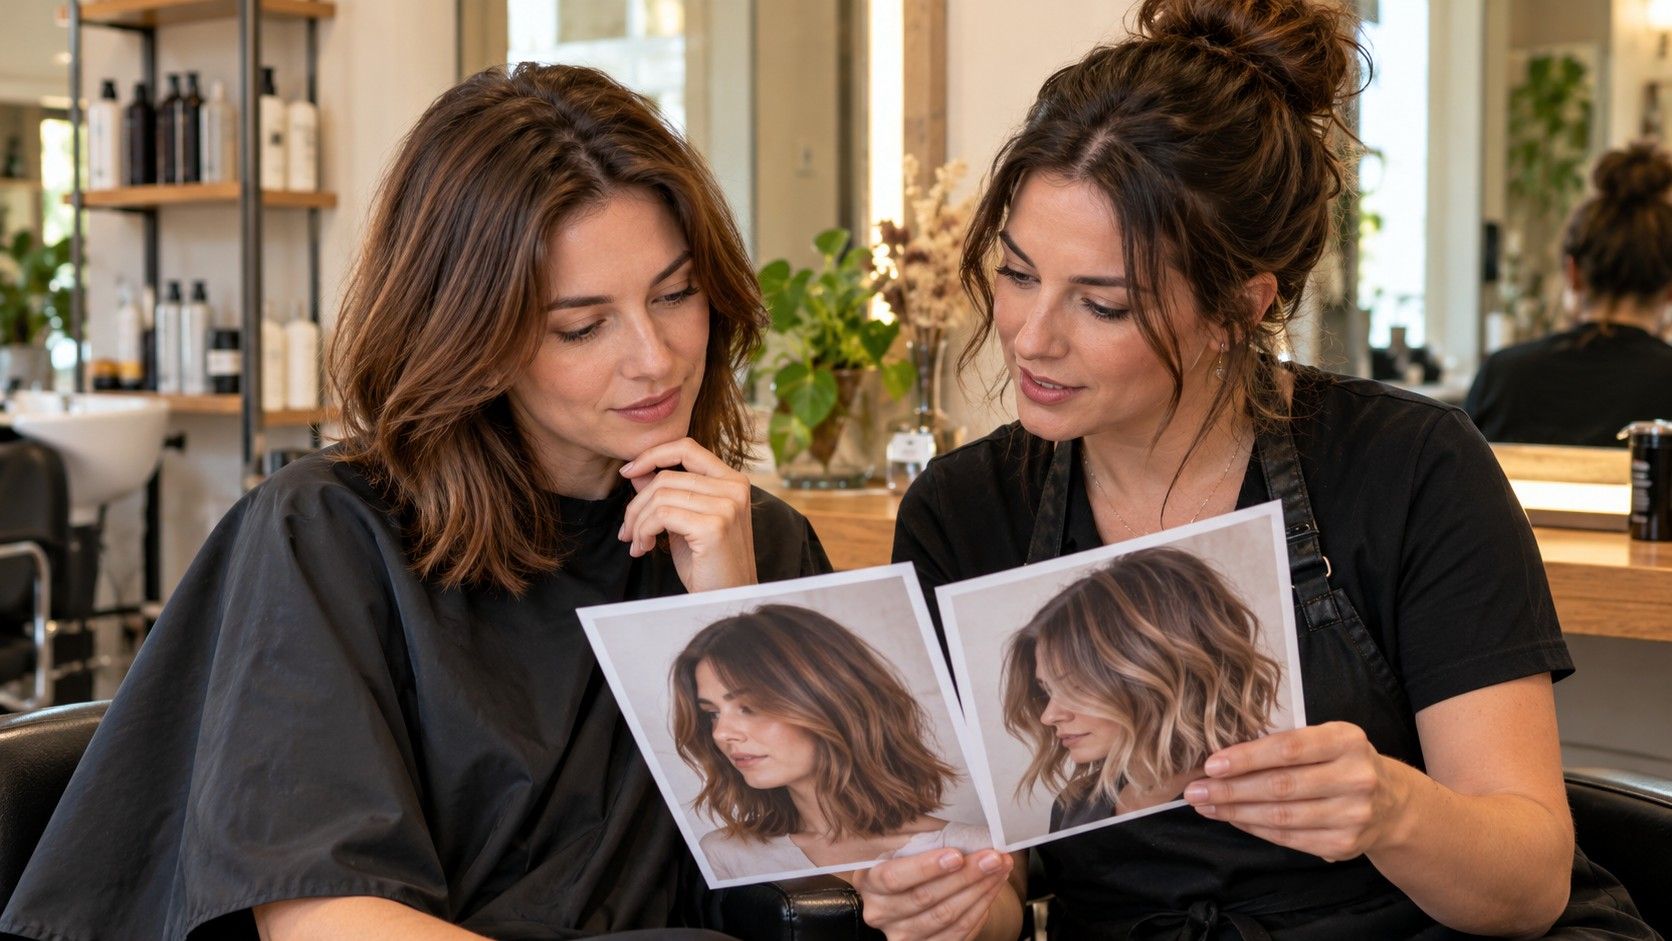
A free hairstyle try on can make a haircut idea easier to discuss, but the screen is only a sketch of a possible shape. The most useful preview starts with a photo that shows your hair clearly, changes one feature at a time, and ends with questions you can take to a stylist. That approach helps you compare length, fringe, or layers without treating a polished image as a promise about how your own hair will fall.
Choose a photo that shows the hair you actually wear
Start with a recent, unfiltered photo taken in even daylight. Face a window rather than standing with a bright window behind you; backlighting can erase the outline of dark hair and make a virtual tool guess where the strands end. Keep the camera near eye level and leave a little space around the head. A tight selfie from below can widen the jaw, shorten the forehead, and distort the very proportions you are trying to assess.
Pull hair away from the face only if that is how you want to test the cut. If your usual part sits to the left and a stubborn cowlick lifts near the crown, photograph that arrangement instead of forcing a sleek center part for the picture. The preview may place a style more neatly than your growth pattern allows. Seeing the starting point honestly makes the mismatch useful: you can ask whether the shape needs a longer front, a softer fringe, or a different parting.
Think about texture before choosing a template. A loose-wave reference placed over dense curls can suggest a silhouette, but it cannot show how much a curl springs up when dry. Straight hair with a strong bend at the nape may also sit differently from the smooth sample. Use a photo with your hair in its ordinary state, not freshly ironed or arranged for a special event. If you want to explore a blowout style, save that as a separate styling question rather than confusing it with the cut itself.
One practical check is to take two pictures: a front view and a relaxed three-quarter view. The first helps compare fringe width and face framing; the second reveals how the front pieces might meet the cheek and jaw. Keep the lighting, distance, and expression similar if you later compare options. Small differences in a smile or camera angle can make a hairstyle appear more flattering for reasons unrelated to the haircut.
Compare one change at a time
When you try on hair styles for free, it is tempting to jump from long curls to a blunt bob with bangs and a new color in one tap. The result may look appealing, yet you cannot tell which change made the difference. Begin with a familiar baseline, then test a single decision: shoulder length instead of chest length, curtain fringe instead of no fringe, or a softer outline instead of a sharp one. Keep color and texture close to your current hair while you compare shape.
Make a small set rather than an endless gallery. Three versions are often enough to reveal a preference: the current length with a cleaner outline, a moderate change, and a more decisive cut. Give each image a plain label such as “collarbone, no fringe” or “chin bob, side part.” Those labels matter when you return to the pictures later; a phone full of nearly identical previews is hard to discuss in a consultation.
Pay attention to the perimeter as well as the face. A cut may frame the cheeks beautifully from the front but feel too narrow at the back, or it may rely on a full fringe that you would have to style each morning. If the tool offers a view from one angle only, treat the missing profile and back as open questions. Do not infer that the shape is balanced all around from a single frontal image.
Compare the style against your real routine. If you air-dry before work, a layered shape that needs a round brush every day may be a poor match even if the preview is convincing. If you exercise often or tie your hair back, check whether the shortest pieces would escape a ponytail. A useful choice is not simply the image you like most; it is the image whose upkeep you are willing to repeat on an ordinary Tuesday.
| What you are testing | Keep steady | Question to note |
|---|---|---|
| Length | Part, color, and texture | Where should the ends sit when dry? |
| Fringe | Length and overall outline | Can it grow out comfortably? |
| Layers | Part and styling finish | Will my density support this shape? |
| Color idea | Cut and photo lighting | Would upkeep fit my schedule? |
Check the hairline, ends, and length before you decide
Look closely at the places where a digital preview has to meet your own features: temples, forehead, ears, nape, and ends. Hairline shapes vary, and a generated fringe may cover a temple in a way your natural growth will not. If you have a widow’s peak, fine baby hairs, or a cowlick at the front, ask how a real fringe would separate after washing. A front-facing image can smooth over those details, so zoom in without mistaking a clean edge for a realistic one.
Length also needs a real-world reference. A style labeled “chin length” may land differently depending on head angle, neck posture, and the tool’s proportions. Use your fingers or a comb to mark the point on your current hair that corresponds to the image: jaw, collarbone, or shoulder. Then ask the stylist to confirm where that line would sit when your hair is dry. Wavy and curly hair can rise above the wet cutting line, while straight hair may reveal every millimeter of length.
Notice whether the preview changes your forehead, jaw, or head shape along with the hair. Some rendering effects blend the hairline into skin or soften facial edges. Those alterations can make a cut appear more harmonious than it may feel in a mirror. Compare the original and edited image side by side; if the face itself seems different, give more weight to the general outline than to the exact balance.
Finally, picture the haircut at several stages, not just on the day it is cut. A short fringe might need trimming sooner than the rest of the style. A bob that looks precise in a preview will soften as it grows, and layers can shift as they pass the shoulders. Ask what the shape looks like after six or eight weeks and which part needs attention first. Maintenance is part of the decision, not an afterthought.
Know what a virtual preview cannot show
A virtual preview cannot reliably tell you how thick your hair is at the ends, where it separates, or how it behaves after a humid commute. It does not feel the weight of dense hair or account for a patch that grows in a different direction. Those details influence whether a blunt line stays full, whether layers spring outward, and whether a fringe rests on the forehead or splits into sections.
It also cannot reproduce the full salon process. A stylist may suggest cutting in stages, adjusting the outline after seeing your natural texture, or leaving extra length because of shrinkage. The final look depends on consultation, technique, products, drying method, and what your hair does between washes. A preview is a way to explain an idea, not a forecast of a guaranteed result.
Use the image to identify what attracts you. Perhaps it is the cheekbone-length front, the open forehead, or a shape that keeps the nape clean. Those observations are more useful than saying “make it exactly like this.” The same reference can lead to a customized version that suits your density, growth pattern, and styling habits. Bring the original photo too, so the stylist can see the starting length and texture before discussing the change.
If you are considering a major cut, save a version that is less dramatic as well. A collarbone-length option can serve as a first step toward a short bob, while a longer fringe can test whether you enjoy hair near your eyes. There is no obligation to choose the most striking preview. You can leave the salon with a smaller change and revisit the idea later, when you have learned how the new outline behaves.
Bring a clear reference to your salon consultation
Before your appointment, select one or two previews and write down what each one is meant to show. Include the specific detail you like, the detail you are unsure about, and how much time you spend styling on a normal day. “I like the length here, but I need to tie it back for work” gives a stylist a real constraint. “I want this exact picture” asks for a result a screen cannot promise.
Ask practical questions: Where would the shortest layer land? Will the fringe work with my cowlick? How will this shape look air-dried? How often would the outline need a trim? If the stylist recommends a different length, ask what hair behavior prompted the change. A good consultation should connect the reference to your actual hair rather than copy pixels without discussion.
Bring your hair as you usually wear it, unless the salon has asked otherwise. Avoid an unusually elaborate style that hides your natural part or curl pattern. Mention color treatments, heat use, and any recent chemical service if they affect what is possible. Those facts help the stylist separate the haircut question from a styling or condition issue.
A free hairstyle try-on earns its place when it makes the conversation more precise. It can help you discover that you prefer a soft perimeter over a blunt one, or that a side fringe feels more wearable than full bangs. Keep the preview, your notes, and the stylist’s advice together. The final decision should account for texture, length, growth pattern, maintenance, and how you want to feel leaving the chair—not just how a simulated style looks on a screen.